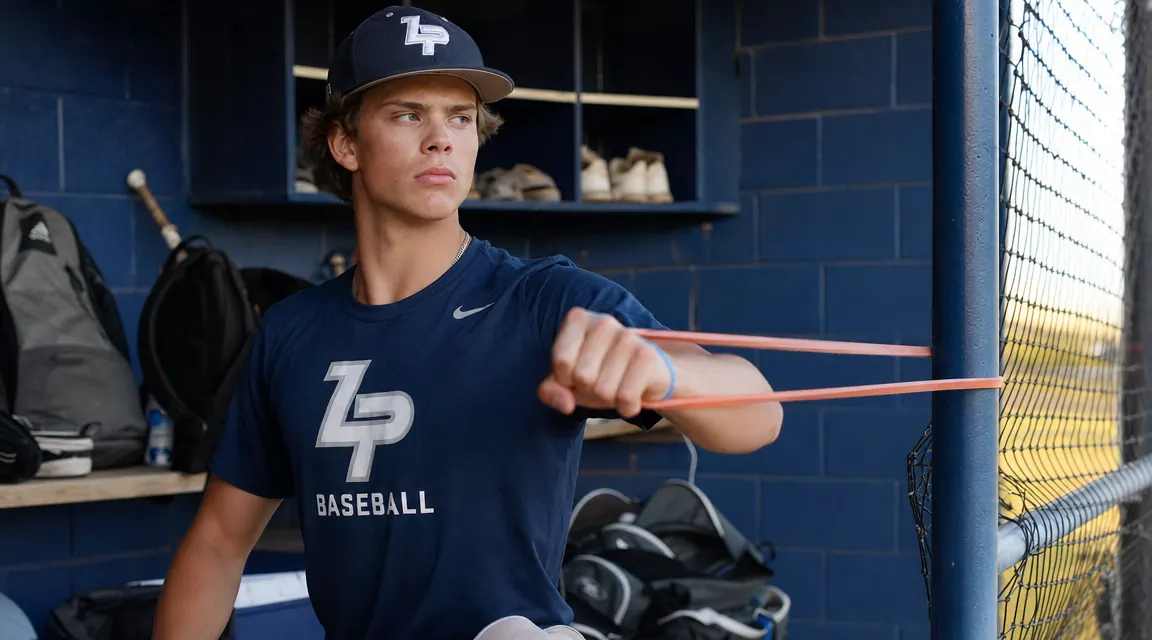
My son Marcus is 17 years old, 6 feet tall, and throws in the mid-80s. He also threw 94 pitches in a playoff game last April, came home, iced his elbow, and did nothing else. As a nurse, I knew something was wrong with that picture. Ice reduces swelling in the short term, but it does not rebuild the connective tissue and muscular endurance that get taxed every time a kid fires a baseball at high velocity. Reactive arm care does. That is what J-Bands are for, and that is what this article covers.
I want to be clear about what the Jaeger J-Bands resistance bands are and what they are not. They are not a treatment for an existing UCL tear or acute elbow pain. If your pitcher is reporting sharp pain during or after throwing, that is a conversation for an orthopedic sports medicine physician before any resistance exercise. What J-Bands do well is preventive and maintenance work: activating the rotator cuff, loading the posterior capsule, strengthening the scapular stabilizers, and preparing the entire kinetic chain of the throwing arm to handle high-stress repetitive loading. Used correctly and consistently, the research and clinical experience I have seen in our own sports PT's office both point in the same direction: less arm soreness between starts, fewer forced rest days, and more durability across a full season.
Start the same routine Marcus uses before every bullpen session.
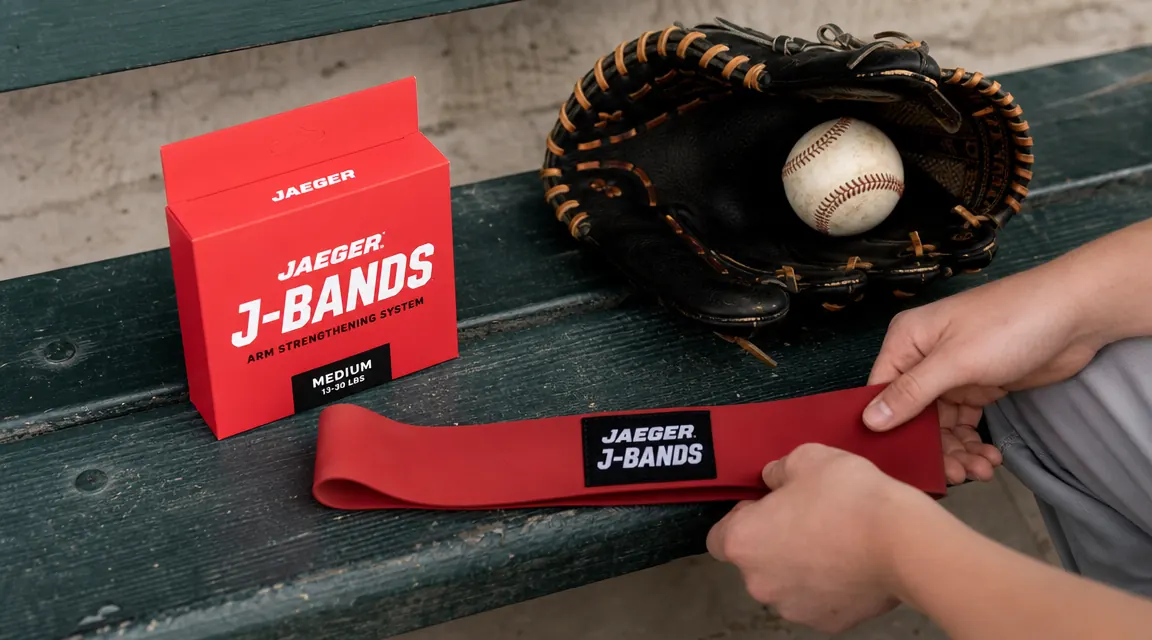
Jaeger J-Bands include a laminated instruction sheet with the full protocol. Rated 4.8 stars across 3,778 verified reviews from pitcher families who use them every day.
Amazon Check Today's Price on Amazon →What You Need Before You Start
The J-Bands set comes with two resistance bands and a laminated instruction card. The card is genuinely useful and I recommend laminating a second copy for the gear bag. You will also need an anchor point: a fence post, a door frame, a dugout rail, or a sturdy post works fine. Marcus uses the outfield fence or the dugout chain-link before games and the basement stair railing at home for his off-day sessions. The anchor point should be at roughly shoulder height for most of the exercises, though a few movements use a higher or lower anchor. I will note this at each step.
Before starting, Marcus does five minutes of light cardio to raise his core temperature. This is not optional. Cold resistance work on a cold shoulder is a recipe for strain. Even a brisk walk from the parking lot to the field counts. The goal is to have him slightly warm, not sweating, before the first rep.
Step 1: Diagonal Arm Swings (Pre-Activation)
This is the loosening phase, not a resistance phase. Hold both bands loosely in the throwing hand and swing the arm in long, controlled diagonal arcs: down across the body, up and out past shoulder height, and back again. The motion resembles a slow-motion arm circle but with a deliberate diagonal path that mirrors the throwing plane. Do 25 to 30 swings in each direction. The purpose is synovial fluid distribution in the glenohumeral joint and initial elongation of the posterior capsule. Think of it the way a nurse thinks about passive range-of-motion exercises: you are bringing blood flow and lubrication to the tissue before you ask it to work.
Marcus does this even on days when he is not throwing. If he has an 8 a.m. showcase game, he starts these arm swings while we are still walking across the parking lot. It takes under three minutes and the difference in how loose his arm feels in warm-ups has been noticeable enough that he now does it without being reminded.
Step 2: External Rotation (Rotator Cuff Activation)
Stand sideways to the anchor with the band looped around the fence at elbow height. Grip the band with the throwing hand, elbow bent to 90 degrees and tucked against the side of the body. Rotate the forearm outward away from the body against the resistance of the band, then return slowly. The key coaching cue here is to keep the elbow pressed against the torso throughout the movement. If the elbow wings out, the exercise shifts load away from the infraspinatus and teres minor, which are exactly the muscles you want to target. Do 3 sets of 15 repetitions with a slow 2-second eccentric return.
External rotation strength is one of the most predictive physical markers of arm injury risk in throwing athletes. A 2014 study in the American Journal of Sports Medicine found that reduced shoulder external rotation strength was significantly associated with increased injury rate in professional pitchers. For teen pitchers whose rotator cuffs are still developing alongside rapidly growing bones, this exercise is not supplemental. It is foundational.
Step 3: Internal Rotation (Deceleration Muscle Loading)
Same anchor height and elbow position as Step 2, but now rotate the forearm inward toward the body against the band resistance. This targets the subscapularis and the muscles responsible for the deceleration phase of the pitch, the phase that creates the most eccentric stress and where most rotator cuff strains begin. Do 3 sets of 15 with the same controlled return. The resistance on the J-Bands is light enough that these reps should never feel maximal. You are building neuromuscular patterning and endurance, not raw strength. If Marcus is struggling to finish a set, the anchor is too far from his body and he needs to step closer.
One thing our sports PT told us that I had not read anywhere else: internal rotation work is especially important in the off-season and early preseason because pitchers naturally develop internal rotation dominance over time. The subscapularis adapts to high-stress throwing by getting stronger relative to the external rotators, which creates a force imbalance. Regular internal rotation loading in a controlled setting, paradoxically, helps the nervous system regulate that imbalance by building proper proprioceptive feedback. Marcus does this 5 days a week during fall and winter.
Step 4: Diagonal Pulls (Scapular Stabilizer Loading)
Move the anchor point to roughly overhead height for this exercise. Grip the band above the head and pull diagonally downward and across the body, finishing with the hand near the opposite hip. This movement pattern loads the lower trapezius and serratus anterior, the two muscle groups responsible for keeping the scapula positioned correctly on the rib cage during the throwing motion. Scapular dyskinesis, when the shoulder blade loses proper positioning under load, is one of the most common non-contact precursors to both rotator cuff irritation and secondary impingement. Do 3 sets of 12 on each side.
This is the exercise where form degrades most often. The tendency is to use trunk rotation to complete the movement instead of keeping the shoulder blade as the driver. I watch Marcus on this one specifically. If I see his torso twisting significantly before his hand reaches hip height, I have him step back, reset, and slow down. The scapula should depress and retract throughout the pull. You can feel it working correctly when there is a distinct pulling sensation along the inner border of the shoulder blade, not in the neck or the biceps.
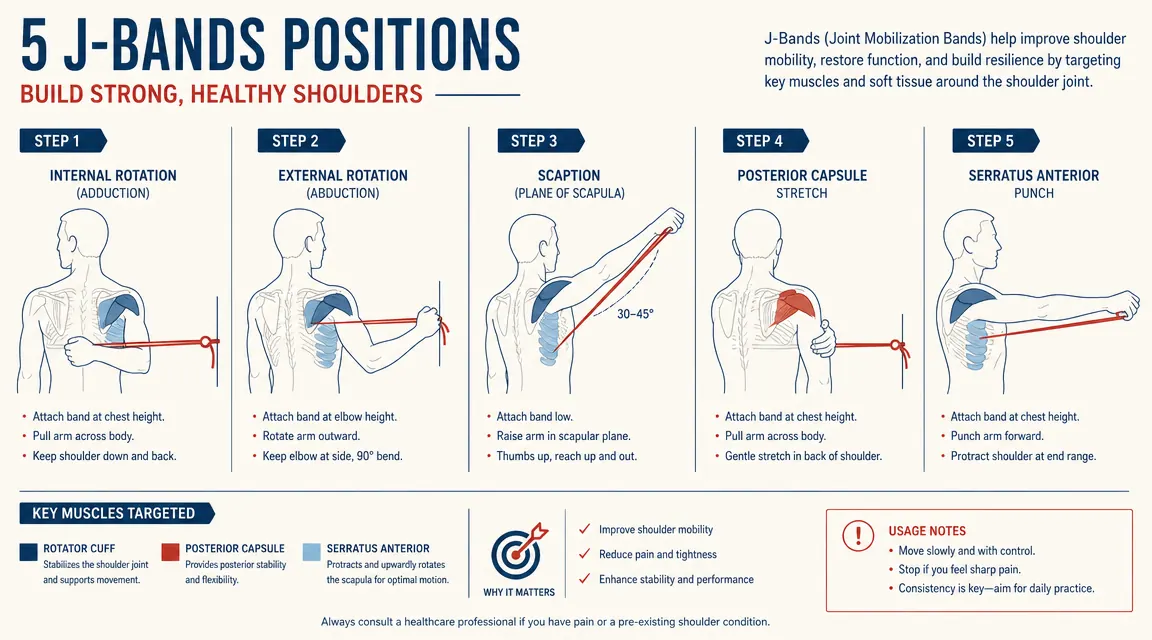
Step 5: Post-Throw Cool-Down Swings (Recovery Phase)
After pitching or after a heavy bullpen session, Marcus repeats a longer version of the Step 1 arm swings. This time: 40 to 50 swings in each direction, slightly slower, with a focus on fully extending the arm at the bottom of each arc to gently load the posterior capsule in its lengthened position. The goal here is not to strengthen anything. The goal is active recovery: increasing local blood flow to the shoulder and elbow musculature, reducing the metabolic byproduct accumulation that causes next-day stiffness, and maintaining the shoulder's range of motion after the natural shortening that follows a high-pitch-count outing.
This step is the one most teen pitchers skip because it feels too easy to be useful. I understand that impulse. But the physiological rationale is solid: light rhythmic movement in the first 20 to 30 minutes after intense exercise is consistently associated with faster clearance of intramuscular edema in the clinical literature. Marcus noticed the difference himself after about three weeks. His arm felt significantly less heavy the morning after starts where he did the cool-down swings compared to nights where he only iced.
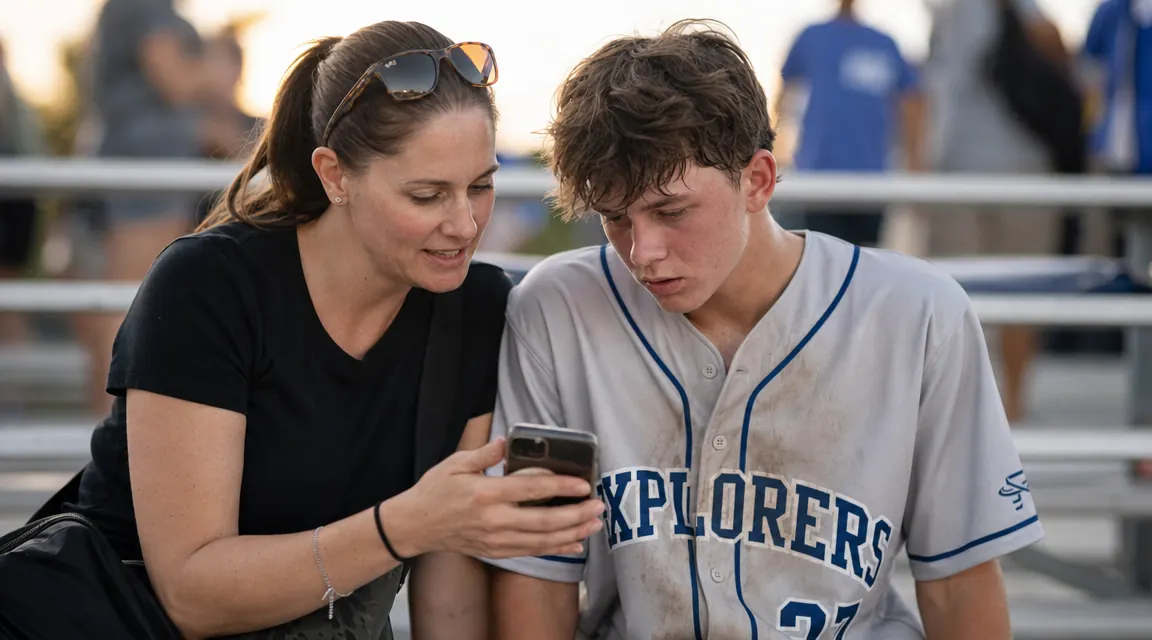
The morning-after difference was the thing that made Marcus a believer. Not me explaining the physiology. Just the feeling of waking up with a normal arm instead of a dead one.
How Often to Use J-Bands
During the season, Marcus does the full pre-throw protocol (Steps 1 through 4) on every day he throws, whether that is a bullpen, a live BP, or a game. On complete rest days, he still does Steps 1 and 2 as a maintenance session, which takes about 8 minutes. The post-throw cool-down (Step 5) happens within 15 minutes of his last pitch, always. In the off-season, he does the full protocol 5 days a week, usually in the morning before school, which takes about 12 minutes when he is moving efficiently through the sequence.
I want to address one concern parents raise often: overuse. The J-Bands exercises use very light resistance and involve movement patterns well below the velocity or force of actual throwing. There is no credible mechanism by which the J-Bands protocol itself causes arm fatigue or tissue breakdown at the frequency Jaeger recommends. What I have noticed in Marcus is that when he does skip the bands for three or four days in a row, usually during travel for a tournament, his warm-up arm swings feel noticeably tighter and his first bullpen back is always the session where he is most likely to report elbow soreness. Consistency matters more than any single session.
What Else Helps
J-Bands address the muscular side of arm care. They do not replace a proper mechanical warm-up, which we cover in detail in our guide to warming up a pitching arm before a start using a compression sleeve. The two protocols work well together: the sleeve keeps the arm warm during bench time between innings or during long waits for a game to start, and the J-Bands handle the activation and recovery work before and after throwing. Think of them as addressing different variables in the same system.
If you want to go deeper on the J-Bands themselves, including what a full year of daily use looked like for Marcus in terms of soreness frequency and recovery time between outings, I have written a longer review at the Jaeger J-Bands long-term review for pitcher parents. That piece covers the product in detail including fit, band durability, and the instruction card quality. This article is about the protocol itself.
Finally, one practical note: the bands in the J-Bands set will show wear at the anchor loop after about 8 to 10 months of daily use. Inspect them before each session. A frayed loop is worth a quick replacement order rather than a snapped band mid-exercise. At the current price, a spare set sitting in the gear bag is a reasonable precaution.
The bands Marcus uses before every outing are $42.95 with a laminated instruction card included.
Jaeger J-Bands are rated 4.8 stars from 3,778 pitcher families. Ships quickly and the included instruction sheet is good enough to start the protocol same day.
Amazon Check Today's Price on Amazon →